How to Install and Setup Zapier Addon for WPForms
If you want to connect your WPForms with more than 3000 web applications like CRMs, Email providers, or payment methods, you can do it with Zapier Addon for WPForms. Using this addon you can send your WPForms data to Create invoices on FreshBooks, Send text messages using Twilio, Create a Lead in Salesforce, Create a contact in HubSpot, Add a customer in QuickBooks, Get a Slack Notification, and so on.
Zapier, a connector service is a WPForms addon that allows you to connect your forms with almost every application that you use every day such as CRM, Facebook Lead Ads, Slack, QuickBooks, Google Sheets, GMAIL, Mailchimp, Hubspot, and so on to add even more functionality.
It automatically moves your information between the web applications with workflows called Zaps which saves plenty of your valuable time and allows you to focus on important areas. With Zapier you have endless possibilities.
Moreover, setting up Zapier is no rocket science. You can easily set up Zapier addon for WPForms without any coding. Plus it comes with a forever-free plan that works as the icing on the cake.
Over 3 million+ people all across the globe rely on Zapier to manage their tedious tasks.
1. Steps to Setup Zapier with WPForms
2. Examples Of Zapier Connection
3. Conclusion
Steps to Setup Zapier with WPForms
In this blog, we are going to explain the steps that you need to follow to set up Zapier with WPForms
1. Install and activate WPForms for WordPress
2. Install Zapier Addon
3. Create Zap
1. Install and activate WPForms for WordPress
WPForms have both free and premium versions but the WPForms Zapier addon supports the premium version only.
2. Install Zapier Addon
Once that you have installed a WPForms, navigate to WPForms and click on Addons. You will see various addons available for your license level. Now search for Zapier in the search bar on the top of your screen. Then click on the Install Addon button and your addon will be automatically activated. Now you will have a green color Status-Active on your screen.
Now that your addon is installed and activated, navigate to WPForms and go to settings. This will open various options on your screen. Click on the Integration tab.
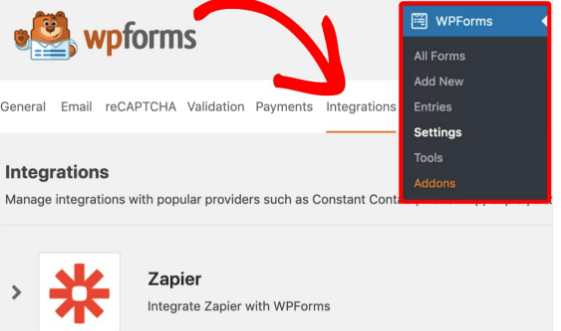
Now click on the Zapier option on your screen and here you will find your API key. Copy the key as you will need it in the next section.
3. Create Zap
Zapier addon for WPForms moves information between the web applications through an integration called Zaps. For creating Zap, you will have to sign up or log in to your Zapier account. If you don’t have a Zapier account, you can sign up for free.
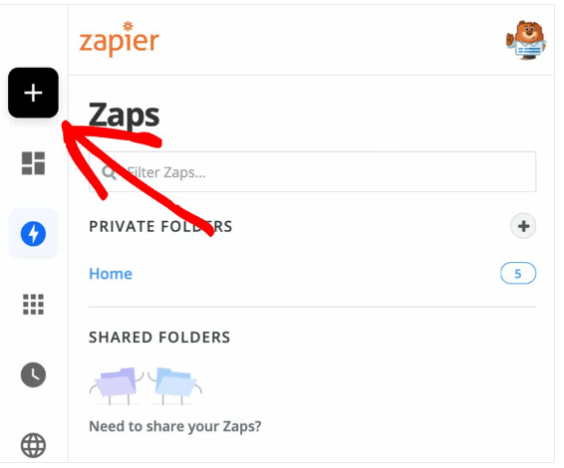
After logging in, click on the black + button on the upper left corner of your screen.
From here, a page will open up where you can set up your Zap. Give your Zap a name in the “Name your Zap” section.
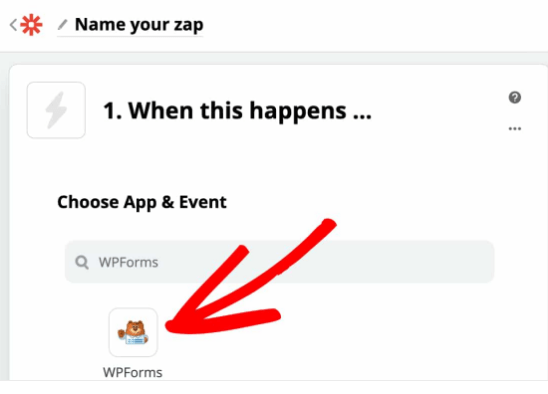
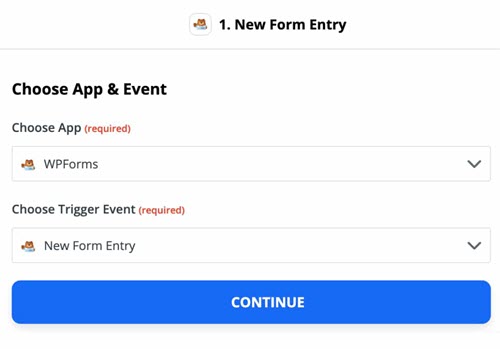
In the next step, select WPForms from the dropdown in the Choose App & Event section.
After selecting WPForms, you will see a Choose Trigger Event option on your screen. From the dropdown, select New Form Entry and click on the continue button.
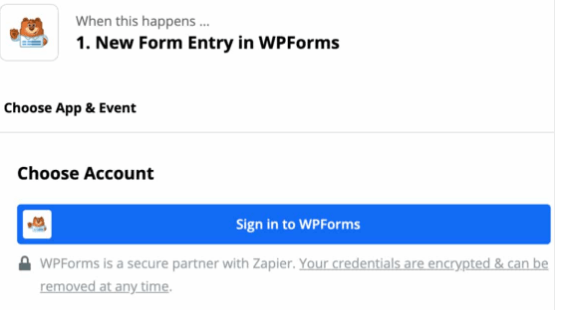
To connect Zapier to WPForms on your website, click on the Sign in to WPForms button under choose account section.
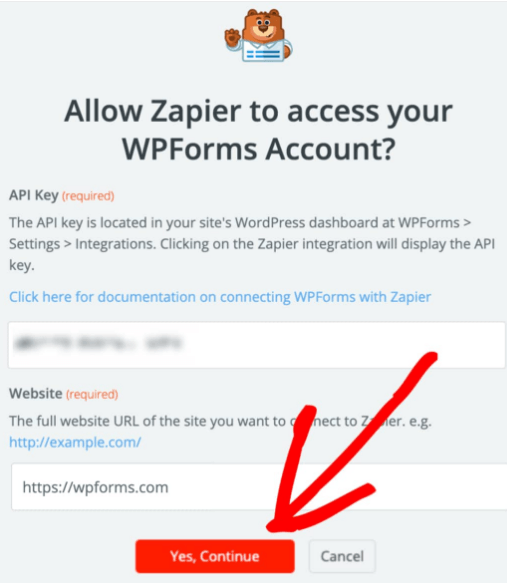
Now you will see an overlay on your screen. Paste your API key in the API Key field and enter the URL of the website you want to connect to Zapier in the Website field.
Once you have to fill out the website field, click on the Yes, Continue button on the bottom of your screen.
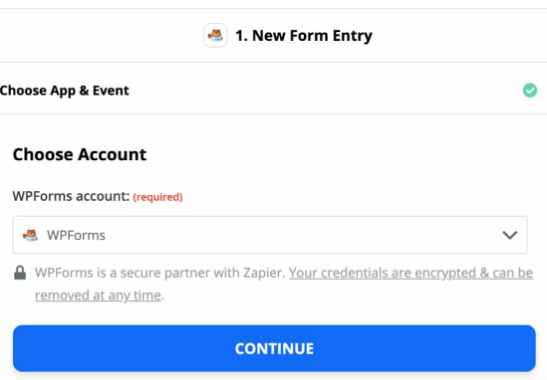
Now, that you have connected Zapier to your site, click on the dropdown under choose account field and choose an account that you want to use for your Zap.
Once you’re done, click on continue.
Now choose the form, that you want to use under the “Customize Form Entry” step and click on continue.
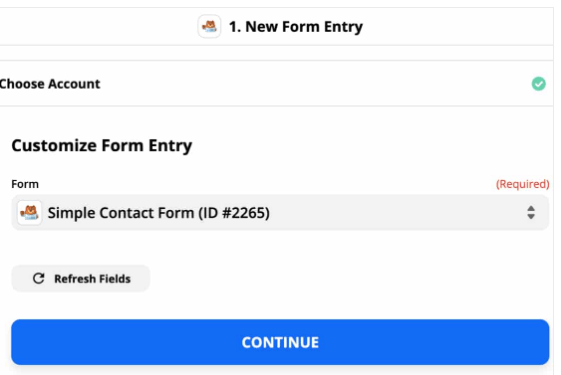
You will now see a new step labeled “Find Data” under Customize Form Entry which will allow you to pull sample entries so that you can test your connection. If you want to review your connection to ensure that everything is pulled correctly click on Test & Review button or else you can click on the “Test & Continue” button.
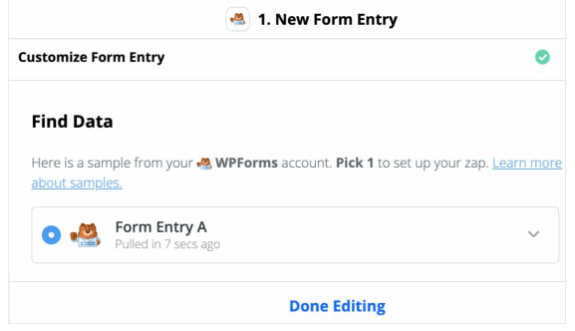
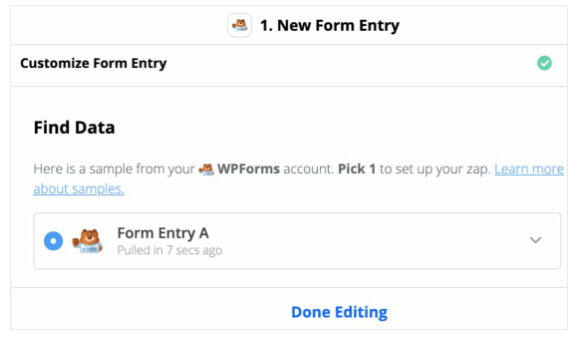
If you click on the “Test & Review” button, you will see form entries populate on your screen. Expand them and check if everything is pulled correctly. Now that you are done, click on the “Done Editing” button.
The next step is to choose “App & Event” where you’d like to send your form entry details.
You can search for the app in the search bar.
After selecting the app, Zapier will pass your form data to the chosen app.

Examples Of Zapier Connection
Here are some examples of the most popular Zapier integrations for WPForms.
- Uploaded files to Google Drive, Amazon S3, Dropbox.
- Send Leads to CRMs such as Pipedrive, Salesforce, Freshsales, iContact, HubSpot, Mad Mimi, Infusionsoft, Zoho, Sendy, MailerLite, etc.
- Entry Details to Quickbooks, Airtable.
- Send Entry details to Slack, Asana, Discord, Slack.
- Additional integrations such as Google Sheets to create entries spreadsheet, Google to create contact lists, Google Calendar to schedule events, YouTube to upload videos, Twilio to receive SMS text messages, Jira to create support issues.
Conclusion
Now you can connect your WPForms to multiple web services through the Zapier addon. For more information, check the Zapier documentations.
If you have any queries or suggestions, do let us know in the comment section. We would be glad to hear from you.

