How to Easily Setup WooCommerce Announcement Bar For Notifications
A WooCommerce Announcement Bar is a notification bar that allows users to know about your amazing offers, products, deals that your eCommerce site is offering. It is present either at the bottom or top of your website’s page.
In this tutorial, we are going to use Optinmonster For Showing the Top Notification bar on our website. This bar has many features to offer it has more than 49+ attractive templates, which has tremendous ability to increase your website sales. The announcement bar helps in increasing your income by sending email popups or notifications to your customers.
Using these WordPress notification bar plugins you can easily tell your customer about Latest Product, New offers, and lead generation
Now that you know some of Optinmonser banner notification features So do you want to create your own banner notification? 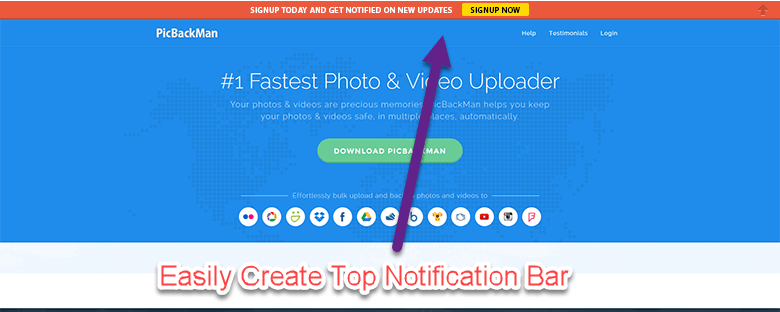
You may also be interested in Email Marketing services, Landing Page Plugins, and Fomo Plugins

So let’s have the following easy steps to create a WooCommerce announcement bar :
Step 1: The first and foremost step is to Login into your OptinMonster account.
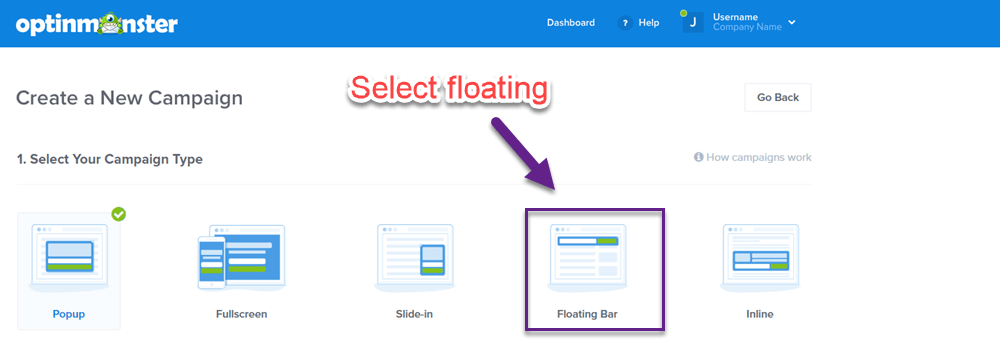
Step 2: Then, you need to select the type of campaign. Optinmonster provides you with a number of options like a slide in, full screen, gamified, popup, inline, floating bar, and so on. But for now, let’s choose a floating bar, for instance.
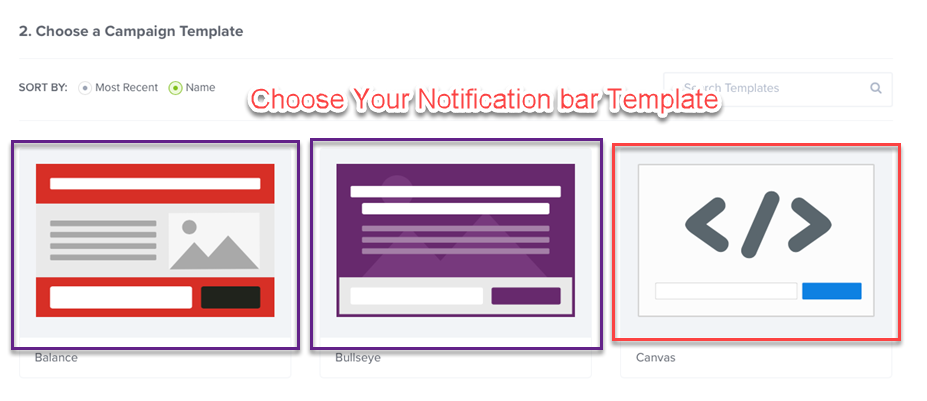
Step 3: Now, you need to select your template. And as you know, this bar provides you with more than 49 in-built templates. You just need to select one that suits your product. For now, let’s select Alert.
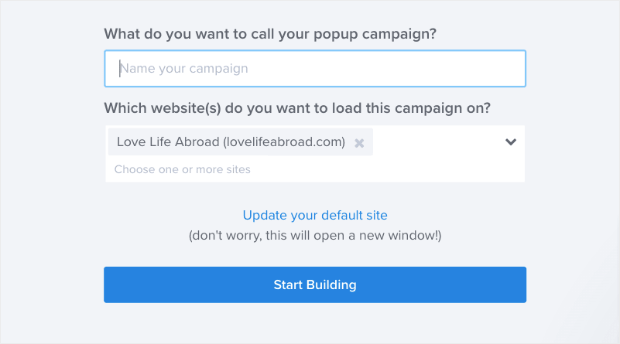
Step 4: Now you need to give a name to your campaign. Then you can just couple it with your WooCommerce website. And click on the start building button.
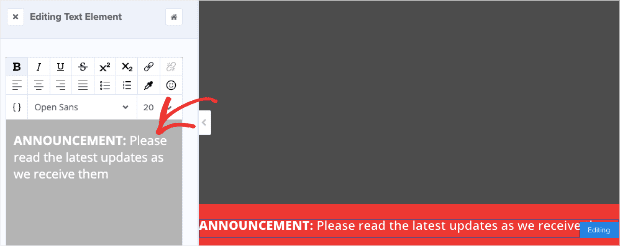
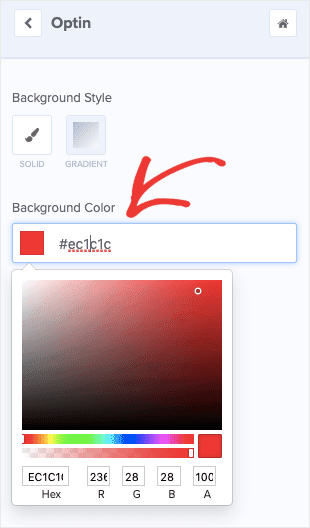
Step 5: Now, you can make changes to your campaign. For example, if you want to change the text of your campaign or if you want to change the background Colour of it, you can make such certain changes.
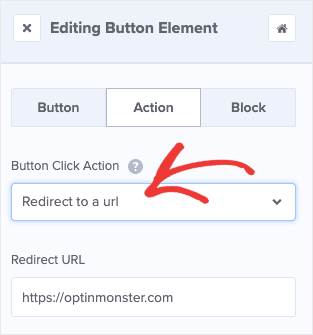
Step 6: Now, you’ll notice a button click action that is placed under the action bar. This button helps you to redirect your user to any page you want. You just need to type ‘Redirect to a URL’ and just need to write the specific URL where you want your user to be.
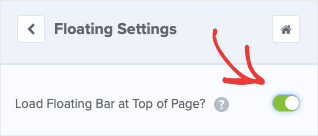
Step 7: Now, when you visit your home menu there is an option of floating settings that allows you to change the position of your bar. The bar is placed at the bottom of the browser, by default. So if you need to place it at the top, all you need to do is click on the toggle switch to load the floating bar at the top of the page.
Step 8: Now, comes the important step, Where we need to set Display Rules Which we need to set rules for displaying our top notifications bar on Our website. So we will divide the process into two parts
- Time On Page
- Current URL
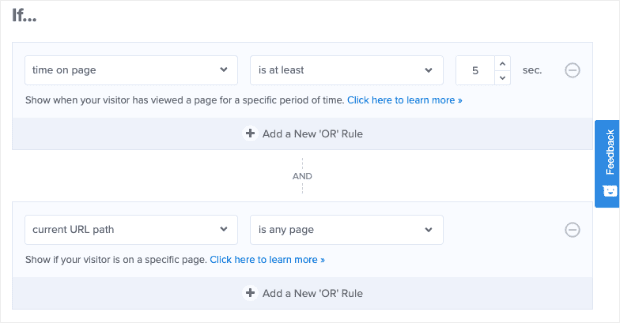
So, under the display settings, you can select or customize Time On Page When you want your notification to be displayed. when a customer visits a website he has to wait 6-7 seconds for that notification to popups. So make the timing 5-6 seconds But if you want your WooCommerce Announcement Bar to be displayed at the same time as someone visits your page, then you can change the settings to immediate.

Now, you need to decide the location of your announcement. If you want your announcement to be displayed everywhere, then you can choose Is Any Page Condition option. But if you want it to be displayed on selected pages, for that there are Other options. For Example, is the homepage, is not the homepage, exactly matches, and do not exactly match. Here you can select the option of exact matches if your announcement is related to any specific product.
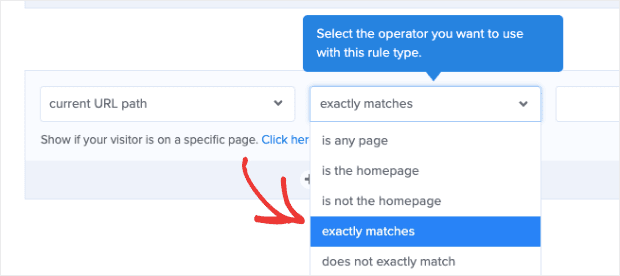
If you don’t find your related option, you can add your own option or rule with the ‘and’ button, you can take your URL path condition and customize settings from exact matches to contains.

then Other options include, does not contain, does not start with, starts with.

Now, you need to add a unique and different term from the URL slug, so that wherever this URL is mentioned your announcement bar would appear.
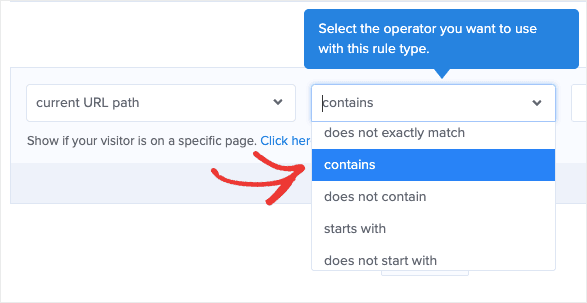
For example, let’s say you want your Top Product offer bar to display only on a product page, or a certain ‘category’ page then whenever this term appears in your URL slug, your announcement will pop up.

So for setting that rule you need to select the current URL path Then select Contains Then Enter the Url Slug Keywords For Example Products

Step 9: And finally, you can just save and publish it. And then you are done.

Now Announcement Bar For woocommerce is ready and you can easily Promote your Deals.

